- Lighting
- LED Lighting
- Quick Ship
- Home Goods
-
Sale
Our most cost-conscious collection, capture the look you love without breaking the bank!
-
Inspiration
- Professional Login
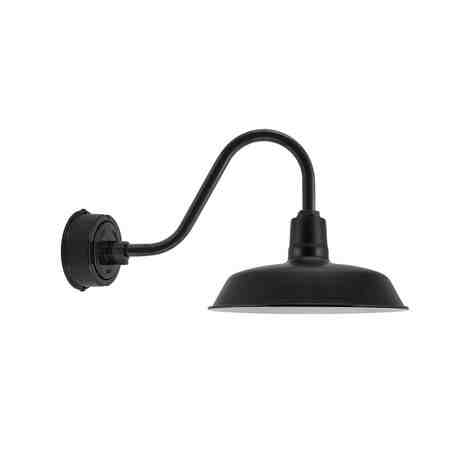
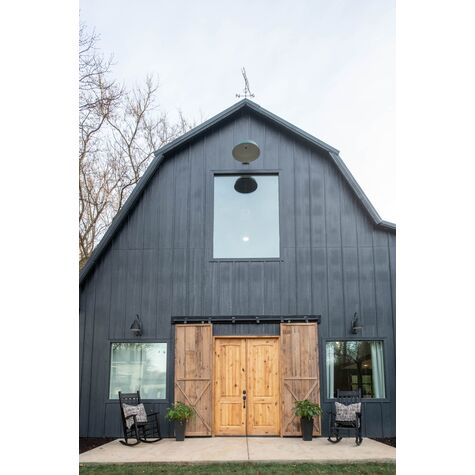
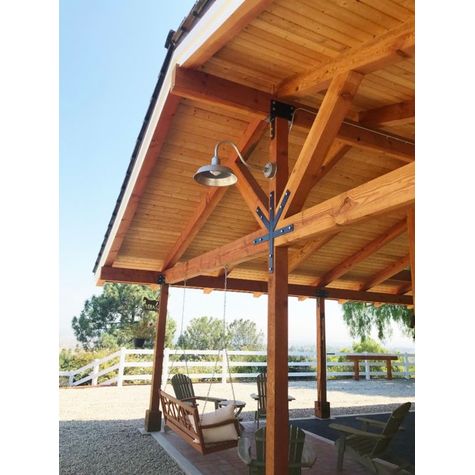
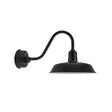
Evocative of influential early 20th-century lighting styles, The Original™ appeals to both traditional and contemporary décors. This iconic gooseneck light integrates efficient LED components into its design, outfitting classic fixtures with modern technology. Eco-friendly and budget-conscious, this fixture significantly reduces the amount of electricity needed to illuminate a space.
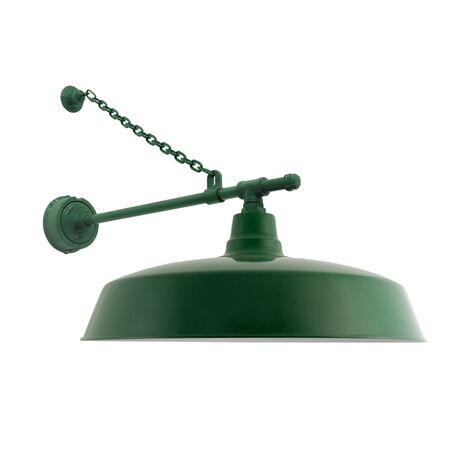
Equally decorative and practical, The Original™ is made-to-order. Constructed with the same commitment to craftsmanship as historic manufacturers, commercial-grade metal is spun and shaped by hand, a meticulous process that results in a highly durable design. Endlessly customizable, this LED gooseneck light is available with our porcelain, powder coat, and natural metal finishes, along with arm options and more!
- Meticulously handcrafted from high-quality, commercial-grade materials for a dependable indoor/outdoor wall light option.
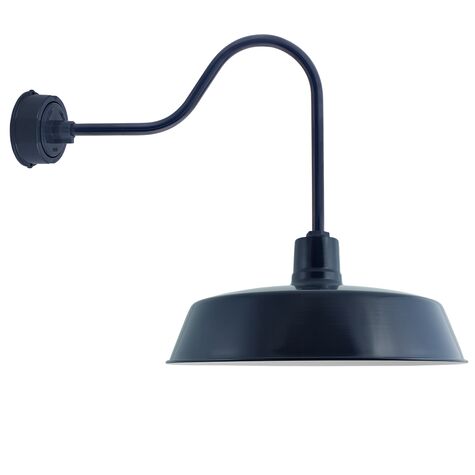
- Looking for something bigger? Check out this fixture in oversized!
- Made-to-order, learn more about the process here.
- Read more about the Original™ LED Warehouse Gooseneck Light over on our blog!
Copper and brass fixtures have a longer lead time and may take up to 4 weeks to manufacture. There are no returns accepted on these metals.
Copper is a "living" metal that, without regular cleaning, will undergo a natural weathering process. Much like the formation of rust on iron, a patina develops on copper which actually protects the metal. If you prefer the new-penny look of copper, you can keep it shiny with regular care with a gentle cleaning agent such as Bar Keeper's Friend.
All fixtures undergo a strict quality control evaluation to ensure they meet our high standards; however, some minor blemishes may occur due to our hands-on construction and manufacturing processes. These blemishes do not affect the functionality of the fixture.
PLEASE NOTE: Due to current supply chain challenges and additional factors beyond Barn Light Electric's control, lead times may be longer than customary. Please contact our Customer Care Team if you have any questions or concerns regarding your order(s) at 321-269-2299. We apologize for this inconvenience and appreciate your extended patience.
If your fixture is not installed in a location near salt water, we recommend periodic cleaning with a mild soap-and-water wash and gentle buffing to extend the life of our painted finishes.
green, gooseneck, LED). I spent months looking for exactly this type of
light. The product itself is solid, well built and well designed. I am
especially pleased to be able to buy something made in the USA. That was
a real plus.
While it took a bit longer for delivery than expected that was alright.
Getting what I wanted was far more important than a speedy delivery.
And, for most people I expect mounting the light is a relatively
straightforward affair, at least for most situations. Not for me.
Because I live in coastal North Carolina hurricanes are a concern. The
two mounting screws and anchors provided did not seem nearly sturdy
enough to handle high winds given the large "sail effect" of the lamp
shade and the leverage arising from the 29 inch gooseneck. And since I
was mounting it in my brick veneer over what was a pre-existing light,
installation was … interesting.
I decided to use 2 1/4" x 5/16" lag bolts with metal anchors to mount
the light. These were the largest bolts that would fit in the base
mounting holes. This required hammer drilling into the brick, filling
the hole with silicone adhesive/sealant, inserting the anchor along with
wood wedges to secure it in place and then mounting the base using the
lag bolts. I found that it was best to test the install first. Just
drill one hole and mount the base with one bolt. Drill a guide hole
through the other hole to ensure that everything will match up. If the
holes don't match up exactly with the base it won't work. Trust me. Once
the guide hole is done remove the base and complete the second hole.
Assemble the lamp itself and prepare it to be mounted.
The brief instructions for assembly were actually quite sufficient.
Better if I'd paid a bit more attention and got the "O" ring installed
the first time but it gave me practice in connecting the wires. Since
the previous light fixture used black, white and green wiring it was
easy to connect the proper wires for the outside power and switch. The
red/black wires for the LED power supply were obviously connecting to
the red/black wiring from the light. Mounting the LED power supply was
easy as well. I used Teflon tape to connect the shade to the gooseneck
as suggested. Note that the LED light itself screws onto the gooseneck
so once the gooseneck is secure be sure to tighten the LED light itself.
One issue was getting the lamp wires through the gooseneck. After
several futile attempts at just pushing them through I ended up using a
toilet snake since it is designed to go around curves. I "snaked" it
through the gooseneck going from the lamp end to the base end. Tied some
parachute cord to the snake and pulled the parachute cord back through
the gooseneck. Removed the cord from the snake and taped the lamp wiring
to the parachute cord. It was easy to pull it all the way back through
the gooseneck. It was much better to pull the wiring using the parachute
cord than it would have been with the snake. The snake had to twist and
turn to get around the corners. The cord was a straight pull.
One final issue was how to hold up the lamp while I made the wiring
connections to the wall. I needed something about 78" high to hold the
lamp end and a second something about 81" tall to hold the base end. You
really need a helper who could hold the lamp while the wiring is
connected. The lamp itself is surprisingly light so they don't have to
be very strong. Unfortunately I didn't have a helper. So I scrounged
around and used some empty 5 gallon buckets (with lids) and various
pieces of wood for the lamp end and an extendable paint handle for the
base end. It wasn't pretty but it worked. Got the wires connected,
tested the lamp (and yeah, I turned off power at the circuit box before
I messed with the wiring) to make sure it worked and went to complete
the install. I used more silicone sealant/adhesive to securely seal the
base to the brick and smoothed it using a wet finger (messy but it
works).
The biggest problem in finishing the install was getting the 5/16" lag
bolts tight. The socket just barely fit over the bolt head and had to be
pried off with a screwdriver when I needed to tighten the other bolt.
And when the bolt was tight. I did the bolts alternating (tighten one
most of the way, then the other and so forth) so there wouldn't be any
tension in the base. It was hard to get the socket off but a bear to get
it back on. With a bit of cussing and fussing it worked. The base is
tight against the brick, secured with silicone against moisture and the
lamp is solidly mounted.
Most importantly it sits right over my grill so I can make BBQ all
winter long and see what I'm doing. Thanks Barn Light.
Your management and sales team are the best at their job.
